Followers

Wednesday 27 February 2013

                  " Lady Lorraine "


Good evening everyone . Im finally getting things back to normal as much as i can . Its not going to be long now till my Daughter gives birth to her first child . Its very exciting times ahead .

Tonight i would like to share with you a card i have made for a competition over at glamoureyes ltd using one of her wonderful Digi's called " lady Lorraine " .


Glamoureyes is a new company just starting out and it will be lovely for you all to pop over and give Sarah the Artist your moral support and drop by her FaceBook page .
Have a lovely Evening.
Hugs
Caroline xxx

Tuesday 26 February 2013


Good afternoon to you all and welcome to another of my tutorials for Creata with Carley.

Today I will be showing how you can make good use of your Creata Organza.
Firstly Organza can be used just like you would a backing paper and gives a great effect if you fray the edges .
Here is an example of how it may look

.
I have layered some Organza over a sheet of silk card and it gives a great shimmer effect .

There are lots many ways you can create flowers from your organza .


Firstly cut a few strips of your organza to any length and size you require . You will also need a needle and thread to keep your organza secure. Don’t worry if its not straight as this gives more effect to your flowers .


Fold you length in half as shown so you have a clear straight edge . Then starting at one end and a close to the bottom as possible make using a running stitch go all the way to the other end then pull the thread . This will then create a your flower . You will need to put a stitch in to secure in place .


Once you are able to create this flower you can start creating more designs .
To create a rose shape start as before by folding a length of organza in half but instead of stitching roll the organza in your fingers.

(You will still need to stitch this together to hold it in place )


These 2 examples can also be made by using the frayed edge of the organza creating a whole different effect .


Organza also makes great bows by simply taking a length and tying a knot in the middle or you can create lengths of knotted ribbon strands by tying knots at equal spaces .


Below  is what I created using some of the ideas I have shared with you today . Its a sneaky peek of what i am working on for Creata with Carley and Sherri Baldy stamps .


Hope you can have a try and experiment with The Organza from Creata and see what you can do . It can be so much fun !!!
Hugs Caroline

Wednesday 13 February 2013


                         Some one special 


Good morning everyone ... I have finally managed to get onto my blog . So today i would like to let you know a new challenge has started over at lej designs challenge blog.

The theme is for " some one special "

There are some great prizes up for grabs from digi images from  lej designs and a £10 gift bag from crafty-emblies


I have used the " young love " digi  (which can be found in the romance section at lej designs ) for my DT card . 

Hope you all have a fantastic Wednesday and thank you for popping by .

Good luck hugs 
Caroline xxx

Thursday 7 February 2013


HOW TO CREATE A BOX CARD USING A BOX CARD BLANK FROM CREATA


Hi everyone today im bringing you my first tutorial for Carley Duff bringing you great products from Creata 

Ingredients :
Box card blank ~ by Creata Mirror board ~ By Creata
Paper page ~ by Creata Image ~ By Sherri Baldy Stamps
Silk board ~ by Creata A selection of dies ~ by Joy
Lace stickers ~ By Creata
Double sided tape , Wet glue a few gems and 2 brads

                                                         PIC 1


When you receive your box card blanks they will be flat with all the appropriate score lines and cuts . The first thing you need to do is fold all of the score lines making sure that the two triangles are folded inwards towards the centre of your card ~~~ pic 1


PIC 2


Cut 2 panels of your card base card each measuring 6 x 12.5 cm and 2  
panels of your chosen papers each measuring 5.5 x 12 cm.
Mat and layer your papers onto the card using double sided tape ~~~ Pic 2

PIC 3


Now you are ready to stick the panels to you box card base ~~~ Pic 3


PIC 4 

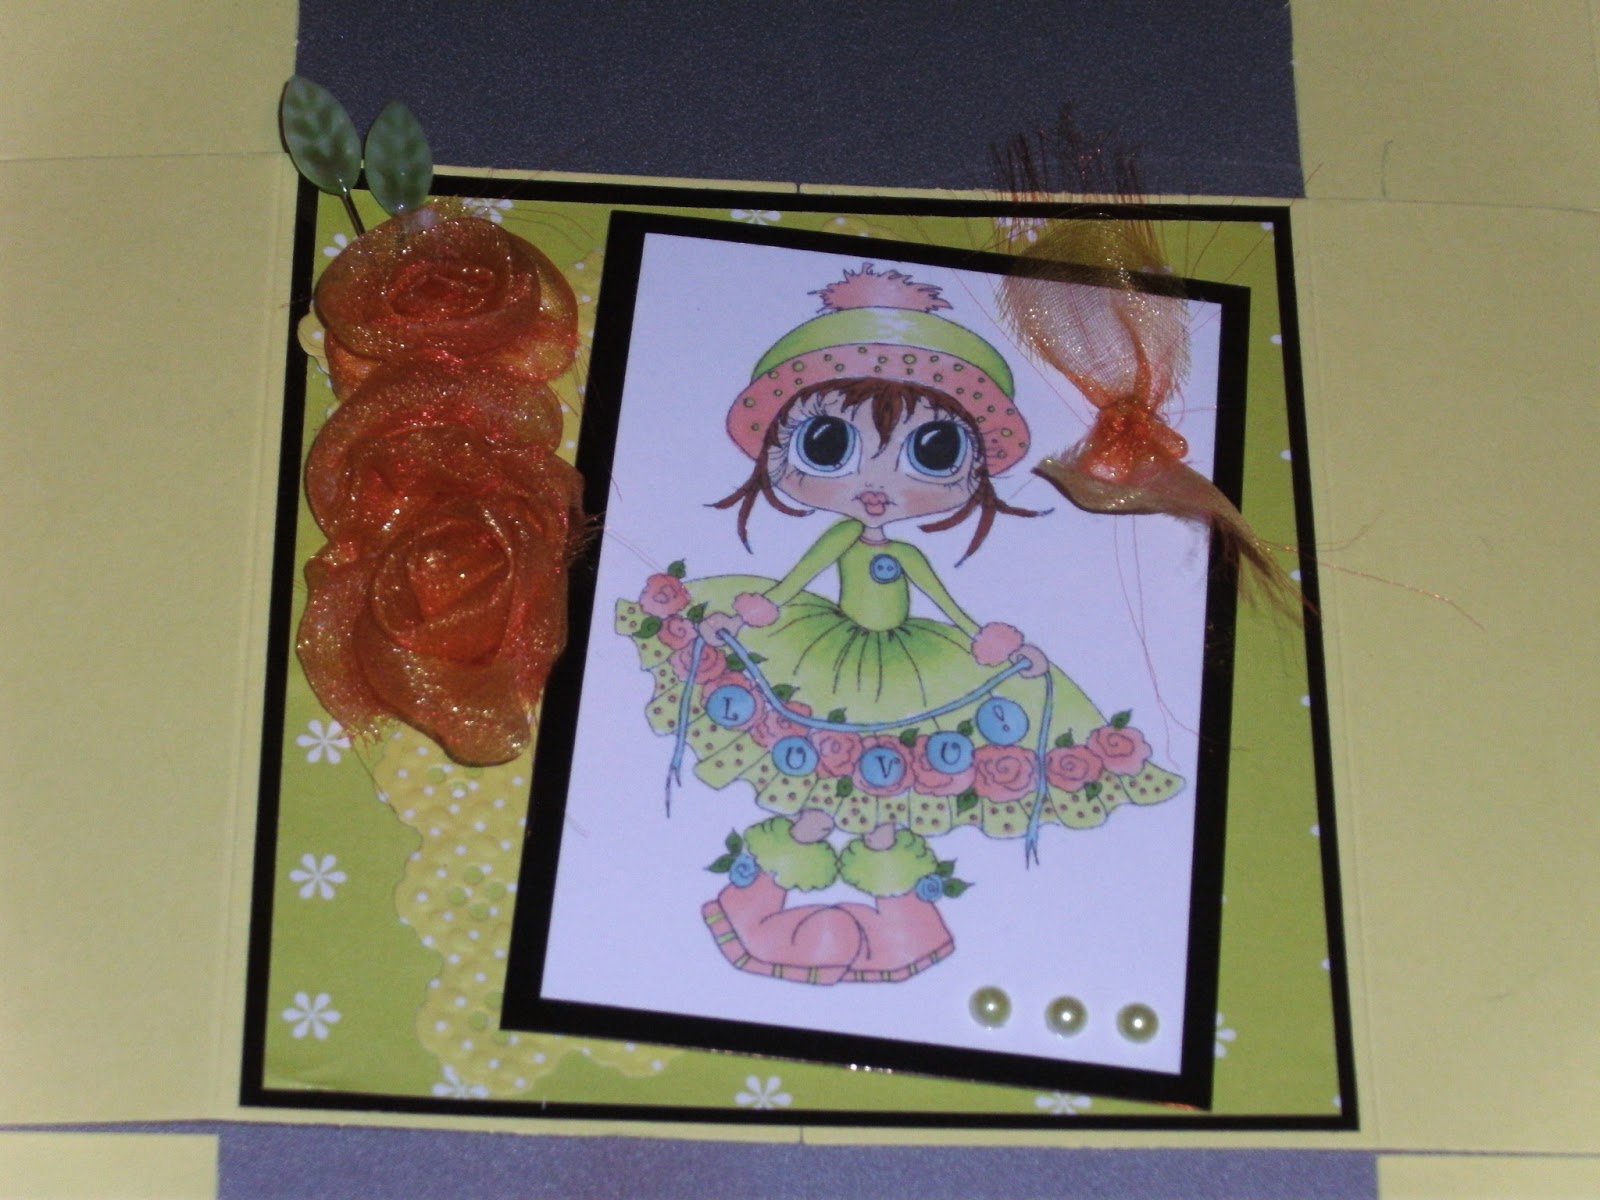
For the Central panel you can use a greeting or a image . I have chosen a Digi image by Sherri Baldy stamps . You will need to make sure that what every you choose is no wider than 7.5 cm as the centre panel measures 7.5 x 12.5 cm .
I have matted my image onto the same base card stock I used for the panels . Then stuck to the centre panel using double sided tape. ~~ Pic 4

PIC 5


Now to create some embellishments and a greeting for your box card. ~~ pic 5


PIC 6


                                           PIC 7


For the greeting stamp and die cut with a die shape of your choice. I have used a scalloped circle .
 Next using a shaped die ,cut 2 of the same sized shapes from your
card stock stick together at angles to create a new shape The shape I have used is by Joy~~~ pic 6 & 7.

PIC 8


Using a set of 3 sizes of flower dies by Joy cut 2 sets from your card stock fixing each set together either with a brad or if you prefer with wet glue and use a gem at the centre . ( I have used a brad ) ~~~~ Pic 8


PIC 9

I have chosen to use some silver mirror board and cut 2 flourishes using one of the flourish dies also by Joy , 2 lengths of lace ribbon stickers from Creata and I cut a couple of the flowers from the Creata papers I have used for my card box ~~~ Pic 9


Now all your embellishments are ready its time to Decorate !!!
At this stage you can push the 2 side panels into the centre of the card so they meet in the middle for a better idea on how you would like to place your embellishments  ~~~ pic 10


PIC 10


Remember to try where you would like to place them before you stick them down . You will find wet glue better for sticking your flowers and flourishes down .


PIC 11


Once all your glues are dry and embellishments have been added its now time to create the box ….. On all 4 of the squares on your box card ether apply wet glue or
extra strong Double sided tape . I am using wet glue for extra strength ~~~ Pic 11

Fold the squares around the side of your box card as shown in pic 12  and stick into position .


Your card is now ready !!! You can push the side together to lay the card flat so it will be easier to fit into a envelope for posting . I have added a few gems for extra sparkle .


Top tip 
Make sure you decorate your card before you assemble or you might just have trouble !!! 

All products can be found on the createandcraft website or at creataonline

Thank you for stopping by
 Hugs
Caroline xxx


Tuesday 5 February 2013

             Red , Black and White Box Card 


 Good afternoon to you all hope everyone is well and that if you have any of the dreaded snow where you are that it isn't causing you too much bother !!!

Today i would like to share with you my " Red , Black and White " Box card . This can be folded down flat so that it makes it easier to post . Its a clever way of hiding a image or greeting on the inside .


I have chosen these colours for a FUN challenge over at the Creata with Carley Facebook Page 


The theme is Black and white  & one other colour ...Of course i had to go with red !!!

I have used many different dies and different textures of papers (which are listed at the bottom of my post )
The image i have used is from Sherri Baldy Stamps .
You will find some fantastic Digis in her shop .


Ingredients used :
Box card blank ~ by Creata
Red Silk card ~ by Creata
Black classic lined paper ~ by Creata
Black mirror board ~ by Creata
Lace boarders ~ by Creata 
Image  ~ by Sherri Baldy 
All dies used apart from circle and butterfly are by  JOY .
Gems , Greeting stamp and pins from my own stash .

 All products can be found  HERE  on the Create & Craft web site 
Or  HERE at Creata online .

I will be back very soon to share with you a tutorial on how to make these lovely Box cards .

Thank you for stopping by and have a great day :) 

Hugs Caroline xxx

Friday 1 February 2013

       Eleanor and Pickles Birthday Time .


Happy Friday everyone . The weekend is nearly here , its work for me but hope you all have a good one .

 Today i would like to share with you another great Digi stamp from Lacy Sunshine "Eleanor and Pickles Birthday time " which can be found HERE in the retirement section of the shop for only $1 .  I have also used  " Pickles Birthday Celibration " which can be found  HERE .

There are many more retiring images at this great price and lots of NEW Digis added . I swear that when you see these stunning Digis you will just fall in love with all the adorable characters.


I chose bright and bold colours for this card . The image has been coloured with my Pro markers and the papers i have used are from Creating memories . The balloons are die cut out of basic card stock and supported with cotton bud sticks ( cotton wool has been removed ). Finished off with a stamped greeting a a couple of ribbon  bows .

Thank you for stopping by and i would love to hear what you all think about this card and remember to pop over to the shop to see these adorable Digi's .
Have a super weekend 
Hugs Caroline xxx